 |
| Photo courtesy of Aaron G. |
I used a combination of different NMM colors for this project. The most prominent was a deep brown/black scheme using Reaper Walnut Brown and Linen White. It was a fun experiment in a new NMM color formula for me. Up until this project, I feel like I was in a bit of a rut, using just the same steel and gold formulae over and over. (Of course, both of those feature here too.)
As is common, for my work, I began the project by cleaning the model, priming her with a white spray primer, and affixing her to a handle using white PVA glue. In this case, the handle is an Ironwind EM-T bottle, full of water. It's a nice size, and the water keeps it pretty stable.
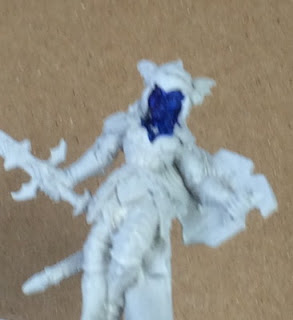
Since Monique DeNoir is intended to be a vampire, I decided to try to create a very cool, slightly inhuman skin tone, while basing it primarily around normal, human colors. To start off, I went to the complete cool-tone extreme, and base coated her skin with a deep blue.
I eventually covered it up entirely with other colors, but the undercoat was designed to add a cool cast to the later layers of paint. In Monique's case, those later layers were mostly pale, Caucasian skin tones. When I got to the highest highlights, I also mixed in a slightly bluish-white color to add to her pallor.
As you can see, I also began to base coat some of the armor plates with a deep brown color while I was roughing in her face. While I normally like to paint "inside out", from the deepest recesses, to the highest relief, it sometimes helps to begin blocking in colors early. Staring at a uniformly white model makes it harder to visualize the final look.
Once I was satisfied that her skin was mostly correct, I began painting in some of the armor plates. I wanted to see how well I could achieve a new NMM color, using just two paints, in this case, a deep brown and a yellowish off-white. The process was tricky. Wildly different colors like that don't blend easily, but I was able to make it look good enough. If I try again, I will try to find at least one mid-tone color to smooth out the blending.
I got the concept for using a deep, black-brown color for a metallic armor came from this 1651 Dutch still life, by Willem Kalf, showing a piece of segmented armor, along with a variety of other items. It produces a very different feeling than the more traditional grey or blueish NMM formulae. How many people thought I would ever really go back to that source from my trip to the Smithsonian in 2012? Better late than never, right?
Black and red seemed traditional for a vampire paint scheme, so I decided to brighten up a model by using a bright red as an accent color. I am very tempted to paint another version of this sculpt for myself, using a different arrangement of colors. One option would be to experiment with a metallic red for the armor, and a deep purple for her cape.
As much as the black-brown armor was an experiment, the blue-grey steel formula is very traditional. I used it to add trim to the armor plates, and scabbard, as well as the blade of her sword. I wanted to keep the steel bright and silvery, so I emphasized the white and blue portions of the gradient. The trick with NMM is just to keep the contrast very high.
With the miniature very nearly painted, I was running out of time to deliver her to her intended recipient. I didn't think it would be right to call her complete without a decent base, so I set about building and painting a simple, but interesting base to show her off on the table, or on a shelf.
I had considered an indoor setting, or a paved stone street, but neither appealed to me. I did not have time to sculpt something very elaborate out of sculpted, or green stuff, and any of the pre-cast resin bases at my disposal would have been too flat, and plain for the job. This was a gift, darn it!
I decided that a basic raised, stone base would look good, and could be assembled quickly. It took a little bit of fiddling around with basing grit, cork and green stuff, but it did not require anywhere close to the level of patience and curing time that a fully sculpted base would have required. It's one of the things I love about using cork in basing.
Of course, something I have seen James Wappel do, and which I should some day steel, is to keep pre-baked sheets of Sculpey around to break up into roads, paths, walls etc. Combined with styrene parts, cork, and a little imagination, it can open up whole new layers of options. Like copying from Dutch masters, I'll get to it. Eventually.
Next time: The beginning of the end of my terrain binge.


No comments:
Post a Comment